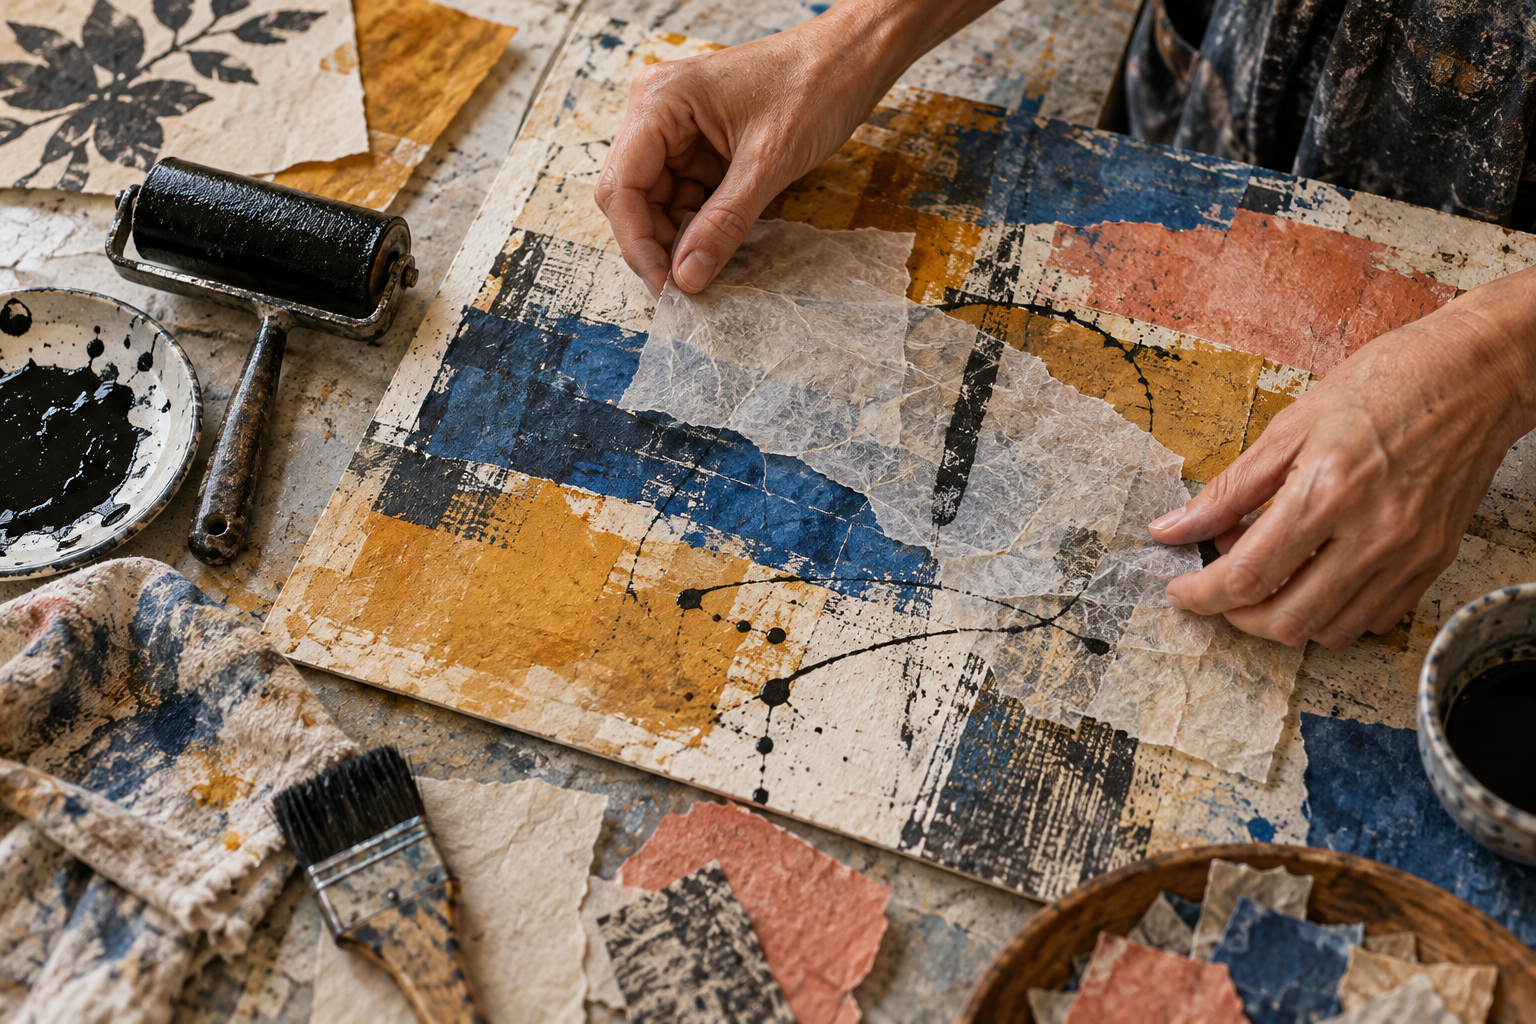
Most of my paintings begin with a surface that already has a little history. It might be a panel with an abandoned color study, heavy paper stained by leftover paint, or a canvas covered with marks I made while testing a brush. A perfectly white surface makes me cautious. A used surface gives me something to disagree with.
My usual materials are acrylic paint, matte medium, found or prepared paper, and black ink. The sequence changes from painting to painting, but the basic rhythm stays familiar: establish a loose ground, build shapes, interrupt them with collage, draw through the layers, then remove almost as much as I add. This is not a formula for a guaranteed result. It is a structure that keeps me working when I do not know what the image should become.
1. Start with a ground that is not precious
I begin with a thin acrylic wash, usually a warm gray, dirty ochre, pale blue, or whatever mixture is left on the palette. I push it around with a wide house-painting brush, a rag, or a piece of cardboard. I leave drips and thin spots. The purpose is not to create a beautiful background. It is to remove the feeling that every future mark has to be correct.
On paper, I tape the edges to a board and keep the wash relatively dry so the sheet does not buckle too badly. On wood panel, I can use more water and scrape back into it. I let some of the original surface show because those light gaps become useful later.
2. Put down two or three large shapes
Before adding detail, I make a few broad areas of color. I often borrow their proportions from things I have seen around Fremont: the slope of a hill, the long band of a freeway, a dark building against late light. I am not drawing the scene. I am taking its basic pressure and moving it into rectangles, diagonals and uneven fields.
I try to vary the edges. One shape may be brushed cleanly, another scrubbed into the ground, and a third pulled with a squeegee or old gift card. If every edge has the same character, the painting starts to feel designed rather than discovered.
3. Prepare collage paper separately
I use plain drawing paper, tissue, old envelopes, unprinted packing paper and scraps from earlier studio sessions. I avoid glossy paper because it can resist paint and medium. Sometimes I paint full sheets with acrylic and cut them later. Other times I make ink lines, roll on a thin color, or press the paper against wet paint to pick up a reversed texture.
The useful papers are rarely the most decorative ones. A quiet gray scrap can connect two loud areas. A piece with one accidental black edge may provide the line the whole painting needs. I keep scraps in shallow boxes by color, although “keep” is a generous word for the loose piles currently occupying my table.
4. Tear first, cut only when the painting asks
Torn paper gives me a soft, irregular edge that blends into paint. Scissors create a more deliberate geometry. I use both, but tearing is usually the first move because it is harder to make a torn shape look corporate. I place several pieces on the dry surface without glue and move them around until one relationship feels alive.
Then I remove half of them. Collage is seductive; it is easy to cover every uncertain area with another interesting scrap. If I paste everything I like, the painting loses breathing room. One awkward paper shape often creates more energy than six tasteful ones.
5. Attach paper without drowning it
I brush matte medium onto the back of the paper and a thin layer onto the receiving surface. From the center, I smooth outward with a clean brayer, a silicone tool, or my fingers. Tissue needs a light touch because it tears easily. Heavier paper needs enough medium at the edges to prevent lifting.
Wrinkles do not bother me. They catch dry brush marks and create shadows under later washes. Air bubbles are less useful, so I press those out before the medium sets. I wipe extra medium from around the edge; a thick glossy halo can resist the next paint layer and announce the collage more than I want.
6. Paint across the seams
Once the collage is dry, I stop treating paper and paint as separate materials. A thin acrylic glaze can run across both. An opaque block can hide part of the paper. A dry brush can pick up the texture of a torn edge. Painting over the collage is what makes it belong to the surface instead of sitting on top like decoration.
This is also the stage where I cover some of the best-looking material. That feels wasteful, but partial concealment creates depth. The viewer senses that something continues behind the visible layer. I leave fragments rather than complete examples of each paper.
7. Use ink to connect, not outline
Black ink usually arrives late. I use a brush, dropper, bamboo stick or the wrong end of a paintbrush. I do not outline every shape. I am looking for a few lines that cross boundaries and pull separate areas into the same space. A line may suggest a utility wire, road, horizon, map route or nothing identifiable at all.
Ink has authority, so I test the movement with my hand before touching the surface. Then I make the mark quickly. If it lands badly, I resist fixing it immediately. Sometimes a poor line becomes useful after the next layer. If it remains awful, acrylic is wonderfully forgiving.
8. Sand, scrape and edit
Layering is not only addition. I use a sanding block, palette knife or damp rag to reduce areas. Light sanding can reveal the edges of paper under paint. Scraping can break a solid shape into a rougher field. On panel, I can work aggressively; on paper, I slow down before making an accidental window through the whole sheet.
I regularly turn the work against the wall and look again the next day. Fresh attention is more useful than an extra hour of fiddling. If my eye sticks in one corner, I ask whether that area is genuinely strong or merely loud. The final stage is usually subtraction: quiet a color, lose a line, cover a clever detail.
Drying time is part of the technique
Acrylic encourages speed, but collage rewards patience. If matte medium is still damp, a glaze can turn cloudy or pull paper loose. Thick paint may feel dry on top while remaining soft underneath. I keep two or three pieces moving so I can shift to another while one rests.
My finished surfaces show seams, brush drag, paper fibers and revisions. I am not trying to imitate a perfectly printed image. The physical record is the point. Each layer preserves a decision and part of the change that followed it. If you try this process, begin with cheap paper and small panels. Make ten experiments. The first goal is not a finished painting; it is learning which accidents you want to invite back.